Hey folks, happy Sunday to you! I have a couple of projects I did for some challenges going on over at Swirlydoos. I joined
kit club a couple of months ago and I just love it. Have you checked them out? Krissy has put together an awesome site with a forum, a boutique and gallery coupled with a wonderful dt and educational team. You don't have to be a kit subbie to join the forum or play in the challenges. Just click on the name :)
My stamps were from Viva Las Vegas stamps. Let me tell you, you haven't seen so many stamps in your life!!! I was there in November and couldn't get over the volume of every subject you can imagine. I stamped the images, on cream cardstock then distressed them with my vintage photo ink and edged with black soot. I then cut them out and used my gelato to give a bit of blue to it. As you can see in the step-out pics, I didn't use all the images I stamped. Once I start putting it together it all depends on the "fung shui" vibe I get. My metal cog piece I glued behind the tag and cut the excess away. The peek-a-boo was just a spritzing of water then cut and worked to the size opening I wanted. I then added a backing of cream cardstock to sandwich the metal cogs.
My butterfly wings were easy peasy. Just place strips of metal tape that you can buy at any of the home improvement stores over cardstock and cut away in your cricut or big shot or any diecut machine you choose. I did the same coloring process to it as the embossed cogs.
For the record, tags don't need to be in the traditional shape at all. I have used different shapes for my tags and love shaking it up! I cut it with my Cricut. My hinges were a fun to do. I had pre-cut grunge board shapes but I didn't like how those hinges looked so I cut my own. After distress ink and some Lindy mist, I used rub-n-buff in Antique Gold for the metal look then folded it in half to wrap around the back and glued then placed my brads. Petaloo flowers, some from my stash and some micro-beads in the center of the three on the left that I glamed up a bit and ta daa!
Product List
Authentique Classique Elegant
Reflections Cream Cardstock
Viva Las Vegas Stamps - Hot Air Ballon, Top Hat
Metal Tape
Cricut Cart
Darice Embossing Folder - Steampunk gears
Grungeboard
Petaloo Botanica Collection
Recollection Roses
Paper Flowers - stash
Micro Beads
Lindy's Stamp Gang Starburst Spray - Clambake Beige, Steampunk Sepia. Blue Hawaiian Blue, Mad Hatter Mint
Lindy's Stamp Gang Flat Fabio Spray - Curioser Chartreuse
Distress Stain - Broken China
Distress Ink - Broken China, Black Soot, Vintage Photo
Adirondack Alcohol Ink - Latte
Faber Castell Gelatos - Cotton Candy
Teal Ribbon
Charms - Key, Clock
Next up is my Masculine Layout challenge hosted by Rae Moses. She is truly awesome, her video tutes are so wonderful. Click her blog
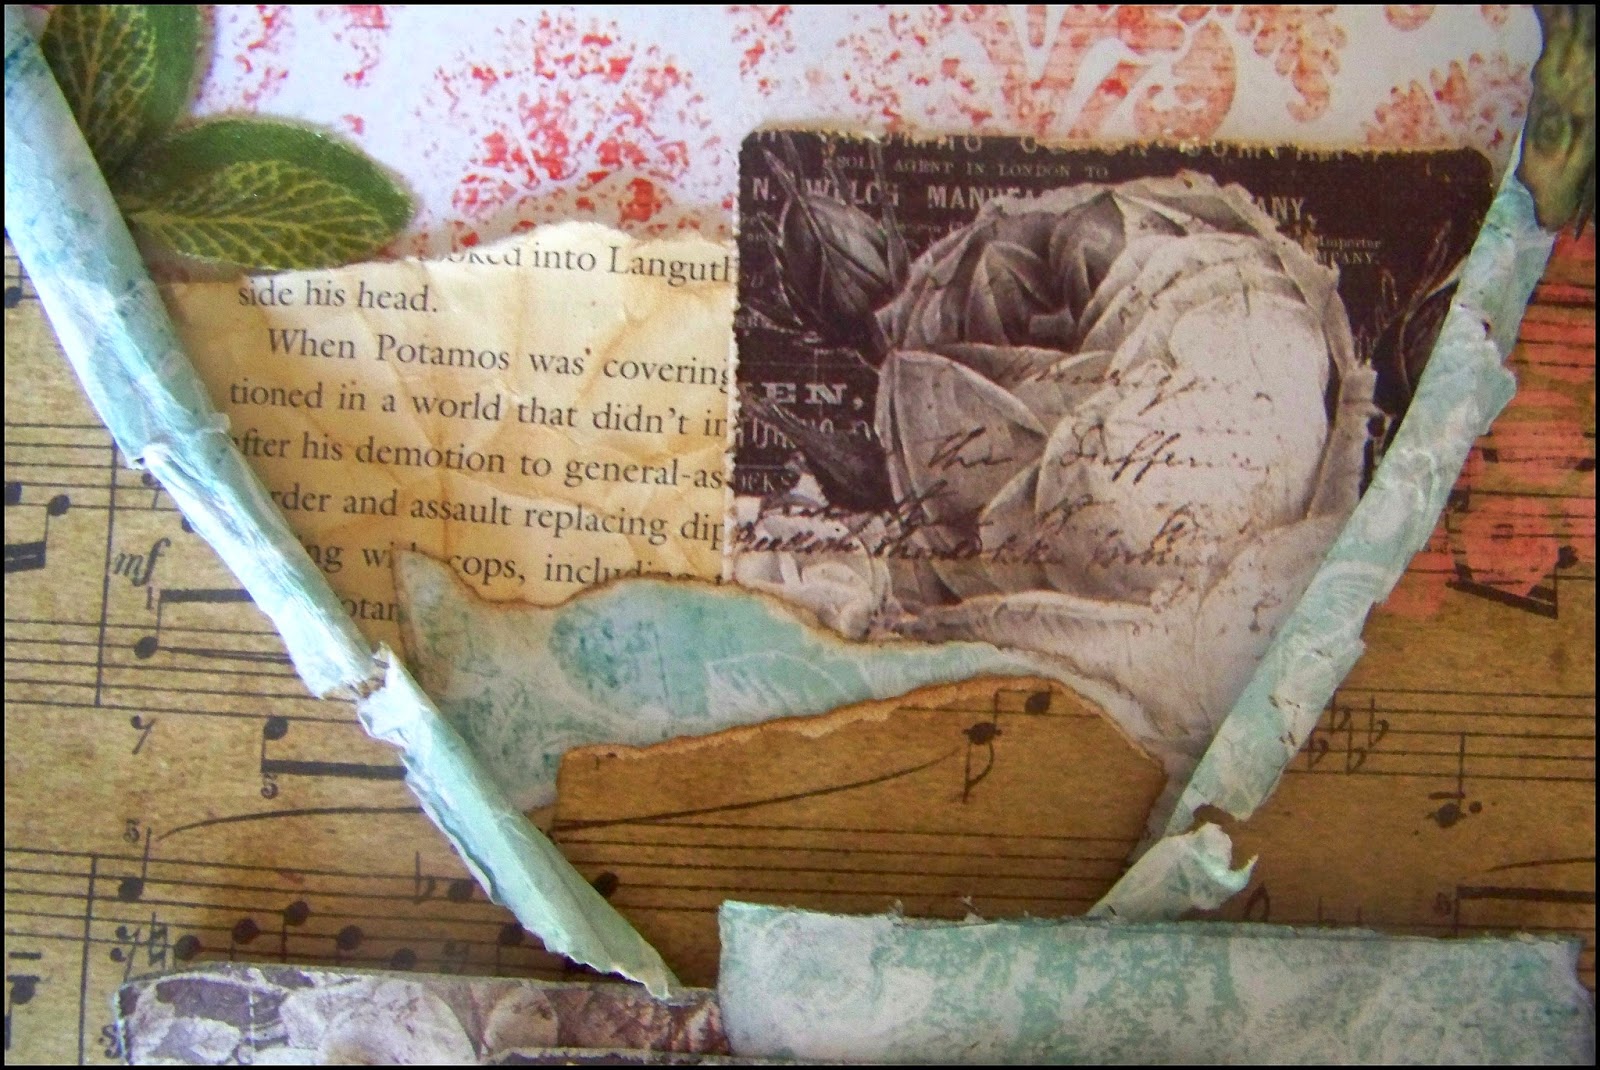
Scrapping Fancy to see her beautiful pieces. For your man page you had to include some goodies for extra points and here's what I came up with, oh and yes the pic is from my daughter Desirae's wedding! Lol, it's my son John with my brother, his Godfather -
The lovely Kaisercraft papers were in May's Bohemian Spring kit. What a gorgeous kit this is. I used the notecards from Prima which was in the kit as a matting, and did some tearing, distressing and some tissue paper and cheesecloth techniques under the pic. The green burlap ribbon came in it as well, I cut the points and just added more texture to the whole feel of it. I went with a bit of an elegant male layout vs a grungy "boy" layout. My chipboard is from Creative Embellishments. Of course there's misting and some stickles and my little butterfly ;)
Product List
Kaisercraft Kaleidoscope Collection - Impasto, Decoupage
Prima Notecards
Burlap Ribbon - green
Book Page - stash
Creative Embellishment - Clock, Frame
Cheese Cloth
Tissue Paper
Distress Ink - Vintage Photo, Black Soot
Lindy's Stamp Gang - A Bit O'Bubbly, Clambake Beige, Rusty Lantern Lime, Mad Hatter Mint
Lindy's Stamp Gang Embossing Powder - Hyacinth Blue Jade
Stickles
Leaves - artificial bunch, Michaels
I know this is a long post, but I hope you enjoyed it.